First layer bed mesh compensation not working properly

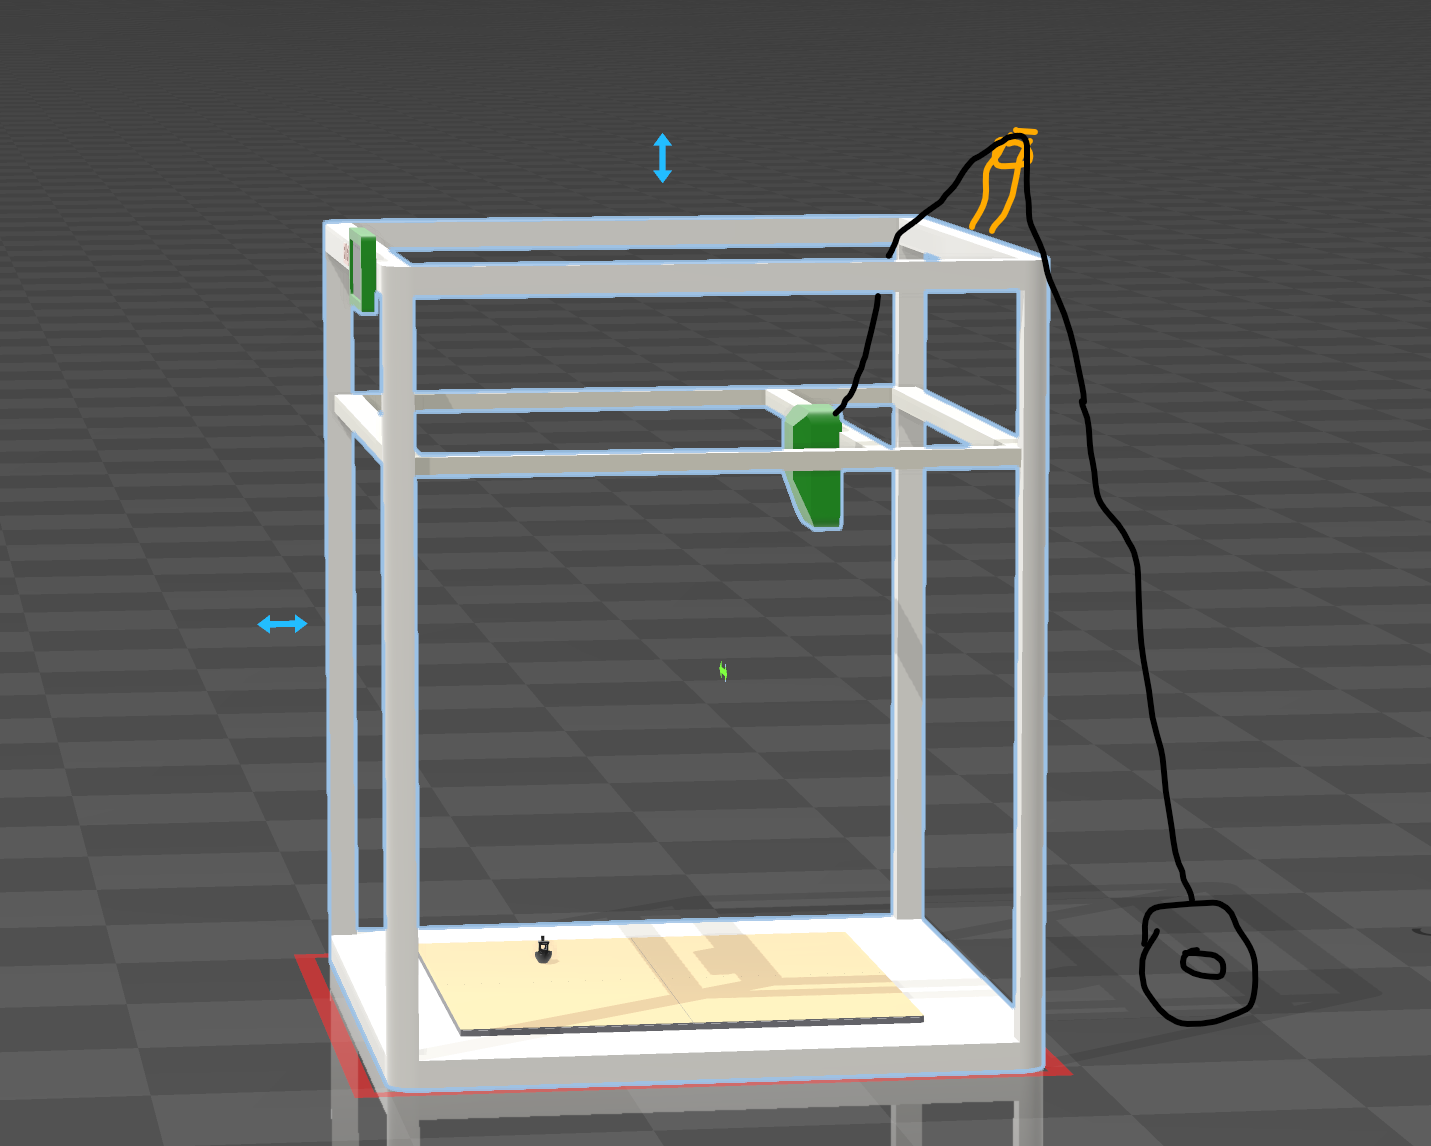
Printer Model: Elegoo Orange Storm Giga
MCU / Printerboard: BTT Manta M8P, printhead: BTT EBB SB2209 CAN V1.0
Host / SBC: BTT CB1
klippy (9).log (7.2 MB)

I’m having issues getting the printer to print the first layer properly. I’m currently using the BTT Eddy cartographer probe, but the same issue happened with the original probe (inductive), which leads me to believe it’s not a probe issue, but rather something else.


The print starts usually off good, but half way through, it seems to fail every time. I have tried to adjust the parameters in [bed_mesh], but nothing seems to work. Added mesh_pps, added move_check_distance, changed bicubic_tension, but the result is always the same.

This is the configuration I tried last:

[bed_mesh]
horizontal_move_z: 2.0
speed: 200
zero_reference_position: 650, 200
mesh_min:15,15
mesh_max:770,735
probe_count: 15 , 15
algorithm: bicubic
mesh_pps: 4 , 4
bicubic_tension:0.5
fade_start: 1.0
fade_end: 30.0
move_check_distance: 5
split_delta_z: .025
scan_overshoot: 9
faulty_region_1_min: 380.0, 0.0
faulty_region_1_max: 440.0, 380.0
faulty_region_2_min: 0.0, 380.1
faulty_region_2_max: 800.0, 440.0
faulty_region_3_min: 380.0, 440.1
faulty_region_3_max: 440.0, 800.0

I was wondering if this could an issue caused by the very large print area, which consists of 4 beds and is 800x800mm in total. Might be that move_check_distance isn’t working as intended on such large print areas.
Due to the large and separate beds, it’s quite hard to level them in such a way, that they’re within 0.1 - 0.2 mm, and thus the bed mesh looks quite bad. But nevertheless it should compensate somewhat for it.

Not that much. It’s 0.66 millimetres.

So you say in theory, should be doable?

On that huge amount of screws of 36 it’s quite an effort.
And IMHO it should be done for a proper first layer.

Also 0.66 mm are 3 layers. Do you really want to have a model with that huge difference ?

To check if the mesh is working, it is enough to look at the Z leadscrew, it should rotate during the printing of the first layer.
Generally, it should work, and assuming you are using a 0.8 nozzle, and ~0.4 mm first layer should be pretty forgivable.

Btw, there is a guide which I generally think is adequate, about how to tune the first layer:

Hope that helps.

When the model is about 500 mm tall, what are 0.6 mm?
It’s good enough for me this way :slight_smile:

Thanks a lot for the suggestion.
I checked the leadscrews and they are in fact moving. Was one of the first things I checked.

An thought of mine was that it’s under/overcompensating, like instead of going 0.2mm up, it goes 0.4 mm up. That’s hard to prove tho with no way knowing exactly where the nozzle is at.
The stepping for the z-motors seems to be ok, as raising the head 500mm, the nozzle is actually somewhere really close to 500 (I’m not able to measure it to the micrometer).

Z-fade start is set to 1.0, which should mean it starts from 1mm if I’m not mistaken.
Could that cause something like this? Should I set it to 3.0?

IIRC, without fade end, it should just work

But alas, I’m not a better documentation than the actual one here.
Can only suggest to maybe increase the resolution of the mesh, if it helps.

If you don’t care that the model is tilted… :man_shrugging:

Adjusting fade will not impact the first layer. The symptoms described in the OP are commonly caused by probe location bias, particularly when they are consistent among different probes.

You do have [axis_twist_compensation] enabled, which can compensate for location bias introduced by a twisted axis. However if the calibration is poor it can introduce a bias. I would recommend disabling it (you can comment the section out), retrying a print, then re-calibrating if necessary.

Thanks to everyone for the reply. Appreciate your time.

So the general consensus is, that it’s most likely a hardware or setup issue, and not a software issue.
I will go on searching for the cause, taking into account what you suggested and what I’ve read in the meantime, updating the thread if with my findings.

The mesh klipper generates interpolates between the measured points. It can’t handle a “step change” between the left and right plates.

You really need to adjust the beds to get close enough that Klipper has a chance.

Also check your flow rate. Picture looks under extruded even where it stuck.

You’re absolutely right, and I took that into consideration when first encountering the issue.

The fault doesn’t start on or neare the edge of a bed. It’s within two measuring points of the same bed, which leads me to believe it’s not caused by the hight difference of beds.

The underextrusion you can see is most likely caused by the nozzle height being off slightly. I have installed eddy-ng, but haven’t had the opportunity to dial it in.

Currently I’m printing a new mount, as I noticed that the probe is slightly tilted backwards. Not sure how that could happen as it is perfectly straight in CAD, but anyway…

Update on this topic for future reference (should anyone need it).

After noticing that the sensor was slightly tilted backwards (~2-3°), I remade the mount and installed it. Due to the change in position, I re-did the calibration for Eddy NG again.
This started promising, as the mesh showed a 0.4 mm deviation instead of the 0.66 mm at the start of this post, but resulted in the same issue in about the same area.

So I started changing parameters in the printer.cfg file:

Action Result
horizontal_move_z: 1.5 no change
bicubic_tension:0.9 slight change
move_check_distance: 5 no change
#mesh_pps: 2,2 slight change / mainly edges of beds
bicubic_tension:0.1 slight change / made it worse in my opinion
bicubic_tension:0.2 slight change / improvement
mesh_pps: 2,2 slight change / nozzle doesn’t drag on the edges of the beds

I then had an incident where I had to leave the printer unattended while printing a test. The print didn’t stick to the print bed and ripped the probe mount off; reprinted the probe mount and went on testing again.

Recalibrating Eddy NG again and starting a new test print, I noticed that the material I’m testing with (PolyTerra PLA) seems to stick very badly to the bed surface, so I turned the print surface around to print on the textured surface.
I also noticed, that the print seems to get worse, the longer it goes. This could mean that either the motor is skipping steps when making those micro adjustments, or (even though it’s pretty unlikely) Klipper is not able to keep up properly on such large moves.
I prepared a different test to avoid crossing the bed boundaries and have a proper Z-move in-between.

The tests printed successfully, even though not perfectly. I might need to micro-step the nozzle down 0.05 mm.


I also tightened the belt which connects the two ball-screws for Z for either side of the gantry. There was some tension on them, but considering they have such a heavy load, I figured the slightest amount of play could have an effect.

This is what I have found until now.
If I find anything else, I will update the thread again.

One last update as I seem to have it gotten under control:
As described above, probably the most important thing is to get the probe as parallelly to the bed as possible.

But one last thing I noticed and changed might be of equal importance.
Due to the printer being so huge, the filament is fed to the head “flyingly”, meaning the spool sits behind the printer, the filament is routed through a wheel mounted at the back top of the printer and then goes down to the head. Here is a masterful schematic about it:

What I have done (and probably a lot others have or will too), is putting a “hat” and side panels on the machine, to avoid drafts on demanding materials.
The top panel or “hat” makes it so, that the filament doesn’t have a clear path anymore to the head and needs to be routed through the top panel, usually through a hole.
Now, this solution creates quite a lot of friction on the filament route and the filament is under tension when the extruder pulls on it.

This can lead to torque either clockwise or counterclockwise on the head and together with the play from the linear bearing, can lead to a movement of the nozzle of about 0.5 mm.
The probe is mounted further out (in front of the nozzle) which makes the effect even worse.

This all to say: if the filament is under tension while scanning or printing, the nozzle and probe might be lifted from the bed.

I’m currently working on a proper fix for the issue, but for now, the only thing that helped was either routing the filament differently, or having a PTFE tube going from the extruder through the hole in the top cover.

2 Likes

This topic was automatically closed 30 days after the last reply. New replies are no longer allowed.