Basic Information:
Printer Model: na
MCU / Printerboard: na
Host / SBC: RPi3
klippy.log: na
Plug and play with an RPi3 with a fresh and an unchanged Raspberry Pi OS with desktop (32-bit).
I don’t use KlipperScreen! But since they claim “KlipperScreen should run on any touchscreen that you can connect to a host (Raspberry, PC, Tablet)” it should work.
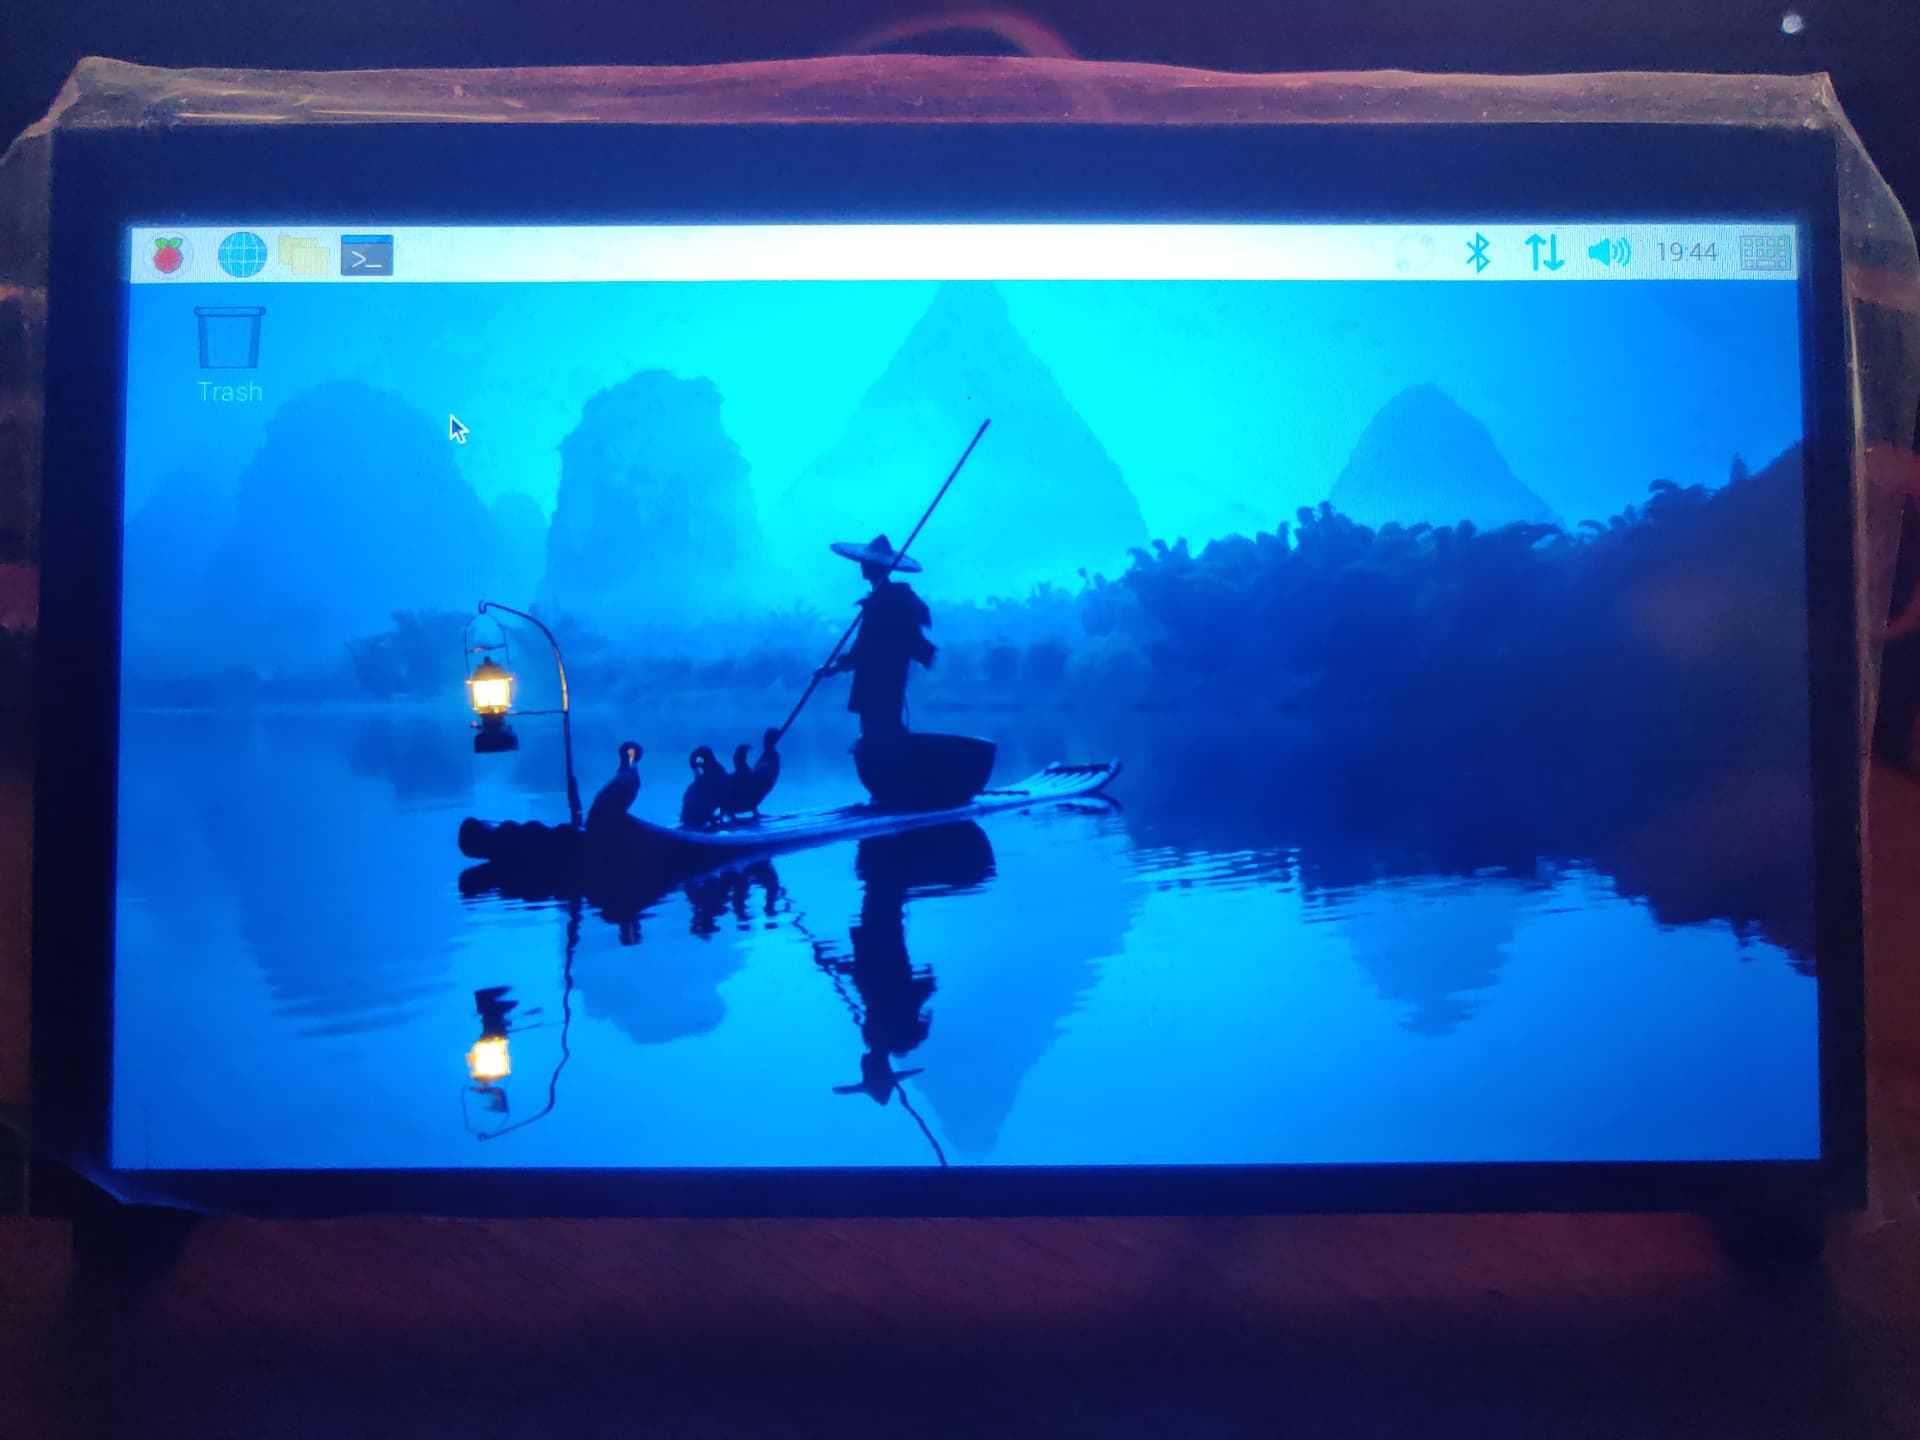
I bought the display for 35 bucks from ali and it’s wonderful.
Started with GitHub - goodtft/LCD-show: 2.4" 2.8"3.2" 3.5" 5.0" 7.0" TFT LCD driver for the Raspberry PI 3B+/A/A+/B/B+/PI2/ PI3/ZERO/ZERO W reading LCD7H-show file and trying to understanding the commands. Started messing with cmdline.txt file and config.txt file on the RPi, but I wasn’t able to rotate the display. Spend some hours…
Following https://www.raspberrypi.com/documentation/computers/configuration.html#displays and using “raindrop” did the trick.
Works like a charm ![]() for both display and touch orientation and you just need to click it together
for both display and touch orientation and you just need to click it together ![]()
I couldn’t believe, that it was that easy and started over with a fresh imaged SDcard. Just charming…
What you need: Display, SDcard with Raspberry Pi OS with desktop (32-bit), RPi3 (a mouse is useful (not nessecary), since my fingers are fat).
- Connect the display like this


- Don’t mount the display, since you have to turn it when using “raindrop”
- Boot (your display will automatically be recognized) and complete the installation
- Use “raindrop” to setup your display
Took less than an hour without doing much (RPi OS updates, etc.).
Remarks:
When using the the power input on the display, it did’t work! Using the power input of the RPi works for RPi and the display with an original Raspberry 2.5A power supply.
I’ll also mention it here https://klipper.discourse.group/t/hardware-known-to-work-with-klipperscreen.